Document Revision History
Vesion | Change Log |
|---|---|
2.12.4.2.14 | Improve some of the parameters of information |
Vesion | Change Log |
|---|---|
2.0.4.2.10 | Edited and published document |
Detail information for Broadworks and Htek IP Phone
BroadWorks software version: 21.sp1 |
Firmware version on Htek IP Phone: UC926: 2.0.4.2.14 UC924: 2.0.4.2.14 UC923: 2.0.4.2.14 UC903: 2.0.4.2.14 UC902: 2.0.4.2.14 |
Application scenario
Call Recording feature enables you to record all active calls. You can initiate and control call recording process on your IP phone.
The BroadWorks provides five recording modes:
Always: All calls are recorded and saved automatically. No recording control functions are offered to the user on the phone.
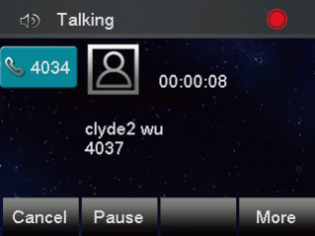
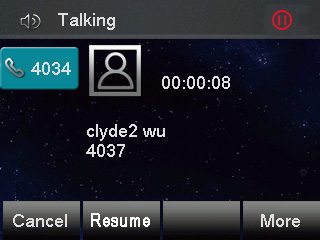
Always with Pause/Resume: Call recording starts when the call is set up. You can pause and resume the recording during a call. The recording is saved automatically.
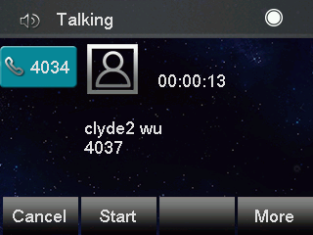
On Demand: Call recording starts when the call is set up, but the recording is not saved unless you press the Start REC soft key. You can choose to save it or not during the call. Once the recording is saved, you can pause and resume the recording.
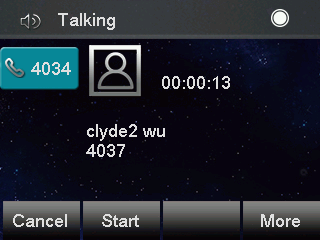
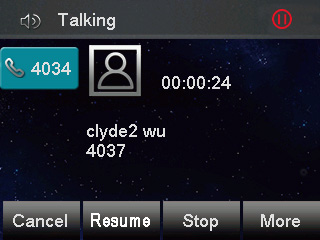
On Demand with User Initiated Start: You can start the recording manually. Once the recording starts, you can pause and resume the recording. You can also stop the recording. You can record multiple times during a call. The recording is saved automatically.
Never: The centralized call recording feature is disabled.
Configuration on Broadsoft
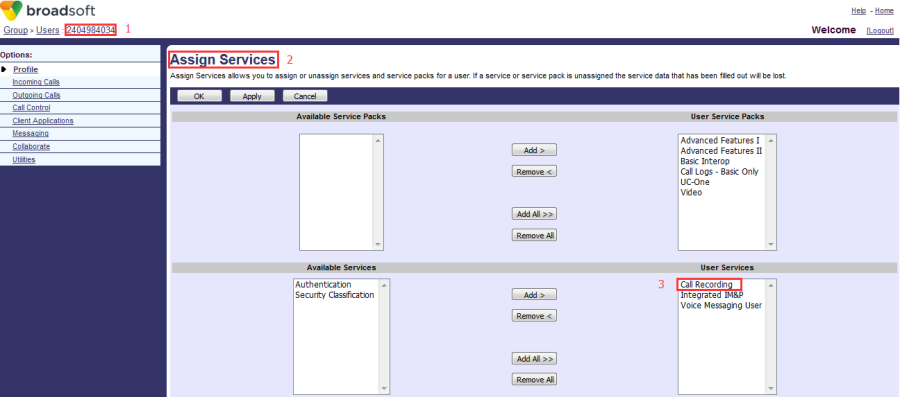
Assign the Call Recording service to a user
- Configuration Path: Group→ Profile→User->Select a user (2404984034) → Profile→Assign Services:
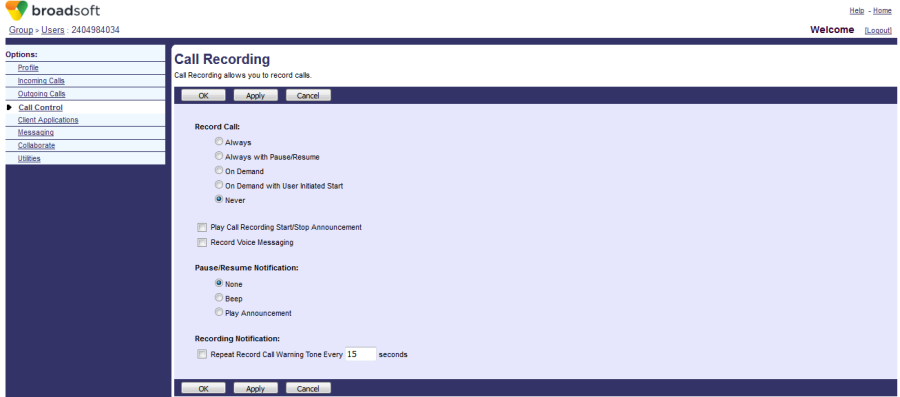
- Configure the call recording feature for a specify user:
- Click Group→Profile→User→Choose a user→Call Control->Call Recording:
- Click Group→Profile→User→Choose a user→Call Control->Call Recording:
Configuration XSI information on Htek IP Phones
Get the XSI information
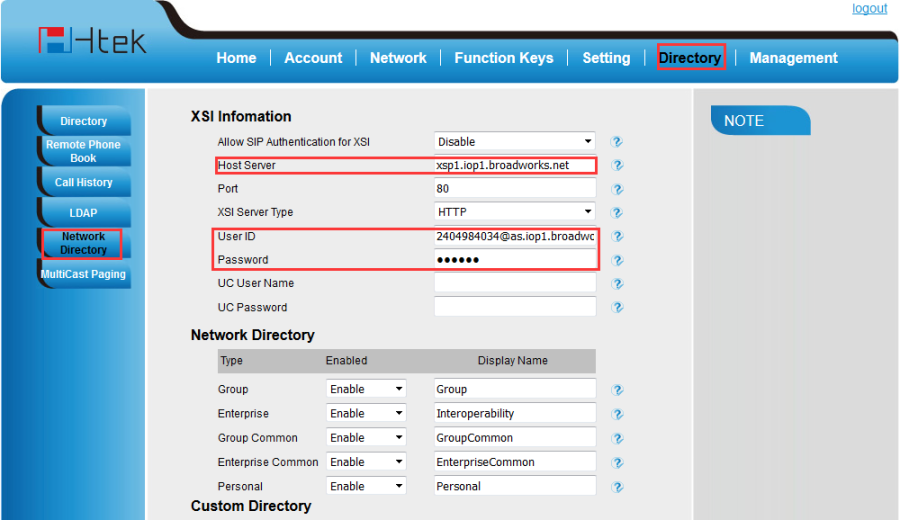
Host Server: The Host Server is your Broadworks Web Portal management address.
For example: http://xsp1.iop1.broadworks.net
XSI User ID: The User ID is in the profile of the User ID. It should contain the whole SIP URI.
For example: 2404984034@as.iop1.broadworks.net
Password: The Password is the Broadworks Web Portal access password of each user.
2 ways to configure xsi information on Htek IP Phones
Access ways | Availability | How to access? |
|---|---|---|
Phone interface | Not Available | N/A |
Web interface | Available | Log in by IP Address(username: admin; password: admin) |
Auto provision | Available | Edit the configuration file |
Set the XSI information via phone web interface
- Directory→Network Directory
Set the XSI information via Auto-Provisioning
<P20944 para="BwXsiDir.AllowSipAuthForXsi"></P20944>
<P20945 para="BwXsiDir.Host">%XSP_ADDRESS_XSI_ACTIONS%</P20945>
<P20946 para="BwXsiDir.Port">80</P20946>
<P20947 para="BwXsiDir.ServerType">0</P20947>
<P20948 para="BwXsiDir.UserId">%BWLOGIN-ID-1%</P20948>
<P20949 para="BwXsiDir.PassWord"></P20949>
Enable Call Recording Feature on Htek IP Phones
Only one way to enable call recording feature on Htek IP Phones
Access ways | Availability | How to access? |
|---|---|---|
Phone interface | Not Available | N/A |
Web interface | Not Available | N/A |
Auto provision | Available | Edit the configuration file |
Enable call recording feature for target account via Auto-Provisioning
Note: 0--Disable, 1-- Enable
<P23160 para="Account1.EnableBwRecording">1</P23160>
<P23161 para="Account2.EnableBwRecording">0</P23161>
<P23162 para="Account3.EnableBwRecording">0</P23162>
<P23163 para="Account4.EnableBwRecording">0</P23163>
<P23164 para="Account5.EnableBwRecording">0</P23164>
<P23165 para="Account6.EnableBwRecording">0</P23165>
Enable Feature Key Sync on Htek IP Phones
Two ways to enable call recording feature on Htek IP Phones
Access ways | Availability | How to access? |
|---|---|---|
Phone interface | Not Available | N/A |
Web interface | Available | Log in by IP Address(username: admin; password: admin) |
Auto provision | Available | Edit the configuration file |
Enable Feature Key Sync for a target account via web interface:
- Login the IP Phone's webpage
- Click Account, then choose an account from the pull-down list of accounts
- Click Advanced then Choose the "enable" option from the pull down list of Feature Key Sync:
- Click the Saveset button to save the configuration
Enable Feature Key Sync for target account via Auto-Provisioning:
Note: 0--Disable, 1-- Enable
<P8633 para="Account1.FeatureKeySyn">1</P8633>
<P8634 para="Account2.FeatureKeySyn">0</P8634>
<P8635 para="Account3.FeatureKeySyn">0</P8635>
<P8656 para="Account4.FeatureKeySyn">0</P8656>
<P20468 para="Account5.FeatureKeySyn">0</P20468>
<P20469 para="Account6.FeatureKeySyn">0</P20469>
Feature show
Always Mode:
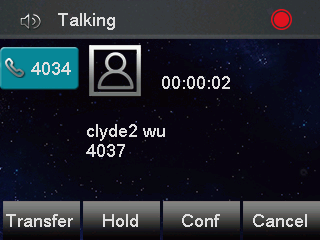
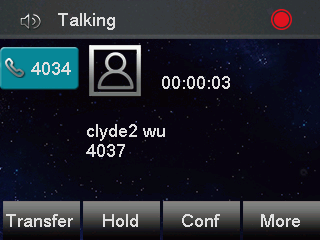
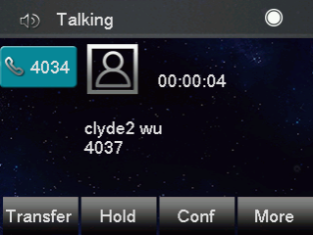
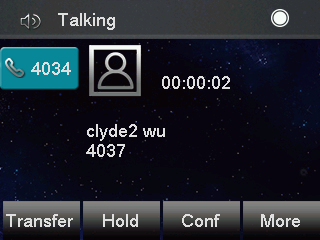
The call will be recorded automatically when setting up the call successfully.
Always with Pause/Resume:
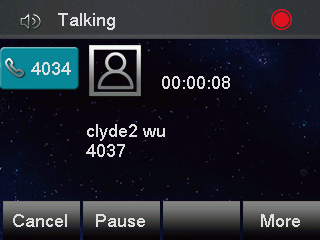
The call will be recorded automatically when setting up the call successfully.
1. Press the More→PauseREC soft key to pause the recording;
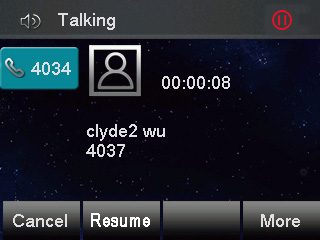
2. Press the ResumeREC soft key to resume the recording:
On Demand:
The call starts to record automatically when setting up the call successfully.
1. Press More->StartREC soft key to start the recording;
2. Press the PauseREC soft key to pause the recording:
3. Press the ResumeREC soft key to resume the recording:
On Demand with User Initiated Started:
The call is not recorded when setting up the call successfully
1. Press the More->StartREC soft key to start the recording:
2. Press the PauseREC soft key to pause the recording:
3. Press the Stop REC soft key to stop the recording:
