/
Configure Secure SIP - TLS
Configure Secure SIP - TLS
- HTEK_admin (Unlicensed)
- vera (Unlicensed)
Owned by HTEK_admin (Unlicensed)
Last updated: Jun 26, 2018 by vera (Unlicensed)
Prerequisites
- Download SimpleCA from http://users.skynet.be/ballet/joris/SimpleCA/SimpleCA-1.0.3-win32.zip
- Extract the contents of the SimpleCA zip file to "C:\SimpleCA\" Note: due to known issues with this software, it is recommended that this program runs from the root directory – in this case, the c:\ drive.
- Make sure that the time and date on the server are correct, so check time and regional settings in your Control Panel before proceeding. The certification process has a time dependency, therefore the correct time settings need to be set.
Configuring 3CX Phone System with TLS
Part 1 – Preparing Certificates and Keys for Security
- Run SimpleCA – Since you are running this for the first time, you will need to create a Root Certificate Authority, and Simple CA will pop up the "Set Up Root CA" dialog

- The most important field for our configuration is the "Common Name". Set the Common Name to 3CXPHONE and click OK.
- A ca.crt file in "C:\SimpleCA" will be created. This is the Root CA, and it will be required by any TLS client (softphone or hard phone) to be able to establish a TLS connection to the specified PBX. Create a copy of this file and rename it to "root_cert_3CXPHONE.pem". Keep this file handy for further use. This will be used for 3CXPhone for Windows and is described later on..
Part 2 – Create the 3CX Phone System Server Certificate
- Click on the "Server Certificates" menu and choose "New Server Certificate Request". You are about to create a certificate which will be installed later on the specified 3CX Phone System to validate TLS requests coming to a specific network interface.
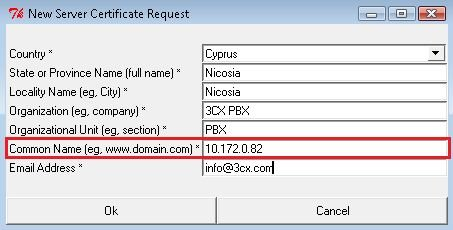
- Set the field Common Name to the IP address on which 3CX Phone System will listen for incoming TLS connection requests. Once done, click OK. You will be prompted to save this (unsigned) certificate.
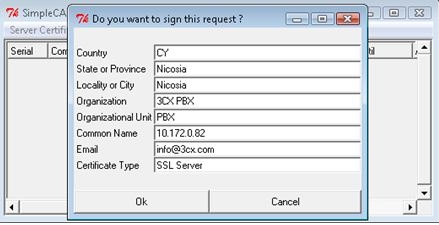
- Signing a Server Certificate. Click on "Server Certificates" menu and choose "Sign Server Certificate Request". This will prompt you to select the desired certificate to be signed – select the one you just created. After that, SimpleCA will display as "read-only" the certificate information, asking you to confirm signing.
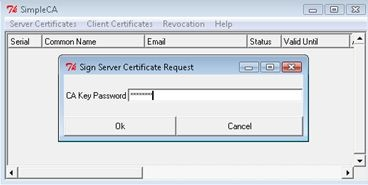
- Security Confirmation – You will be prompted to enter the same password you used when you created the Root CA. Enter a password then click OK. Simple CA will generate a pair of files, the signed certificate (with .cer extension) and its decryption key (with .key extension).
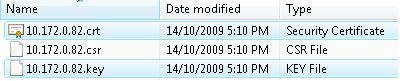
- Locating Security Files. Open "C:\SimpleCA\certificates". The files which we are interested in are the (.crt) and (.key). These are the files we are going to need in the next step.
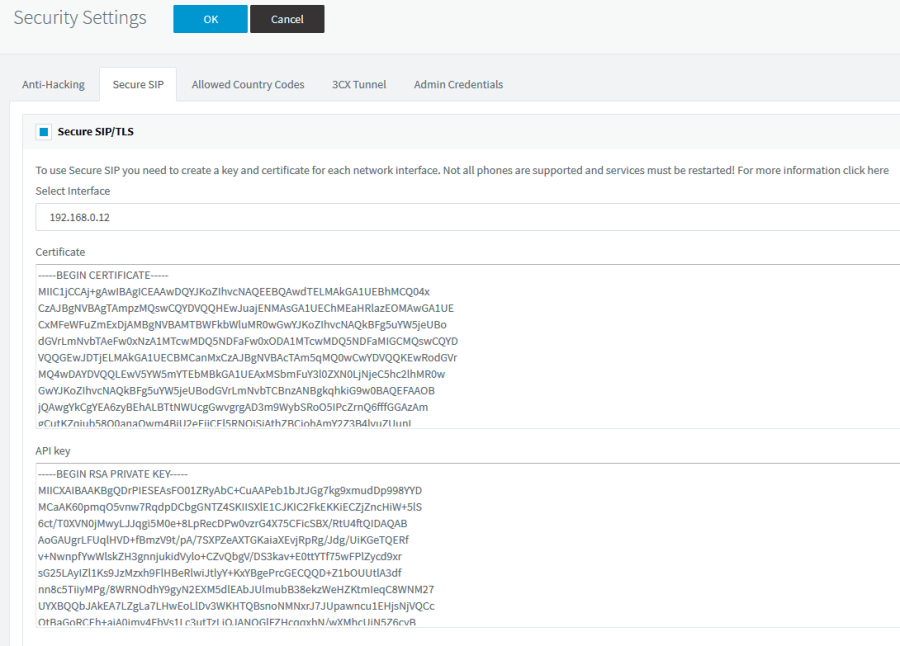
- Generating 3CX IP PBX Certification. Open the 3CX Management Console and click on the Settings/Advanced section and click on the security tab. Open the .crt file with a text editor. Select all the content and copy & paste it into the "Certificate" column text box. Open the .key file with a text editor, select all the content and copy & paste into the "Key" field section. Click the Enable Secure SIP button, followed by Apply and OK. Note: If your 3CX Phone System machine has more than one network card: The interface IP address used to generate the certificates must match the interface selected in the Security tab. Select Interface field so traffic is secured on the proper interface.
- Restart 3CX Phone System by clicking on "Services Status" section, and restart the 3CX Phone System service. At this point, 3CX Phone System is configured and ready to accept incoming TLS connection.
, multiple selections available,
Related content
NetSapiens Configuring Guide
NetSapiens Configuring Guide
More like this
UCV Series IP Phones Provisioning
UCV Series IP Phones Provisioning
More like this
UC900 Series IP Phones Provisioning
UC900 Series IP Phones Provisioning
More like this
Call Operation Button Layout URL
Call Operation Button Layout URL
More like this
Htek Firmware
Htek Firmware
More like this
Getting Syslog/Pcap for Support
Getting Syslog/Pcap for Support
More like this